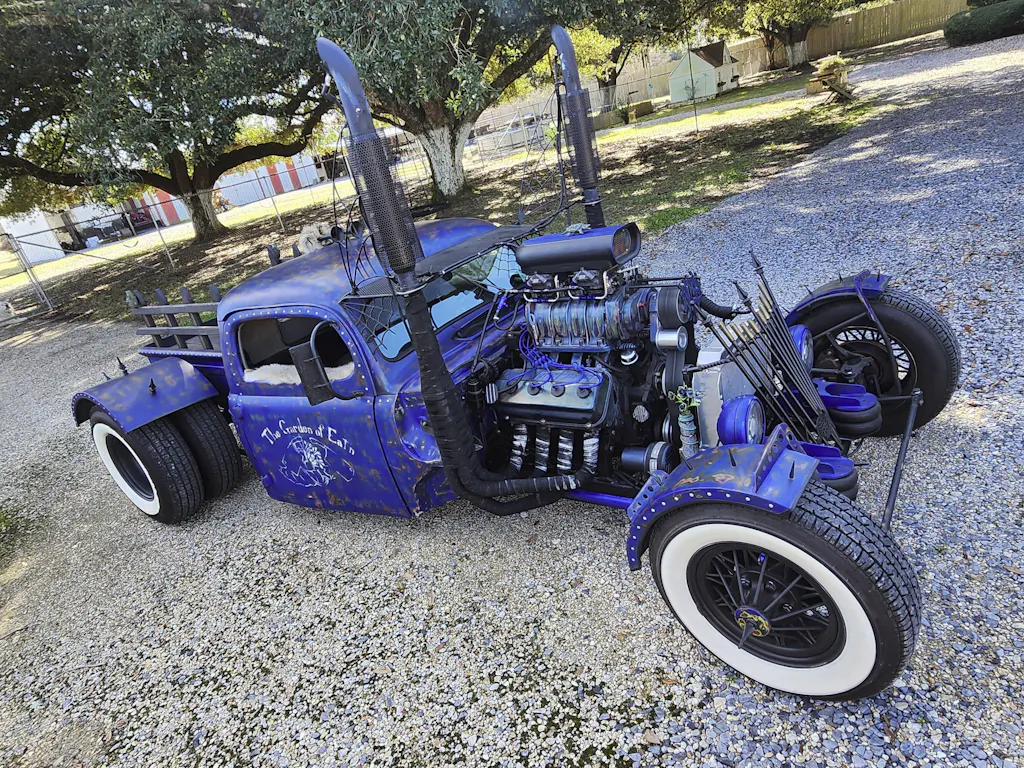
The '51-'53 Chrysler 331 Hemi is sort of the "red-headed stepchild" of early hemi engines mostly because of the cast-in extended bell housing. Folks will pass them over because of limited options in adapting them to later transmissions. I'm a Mopar guy and this is the engine I have to work with for an old school project (still in progress), so I'm determined to make it work.
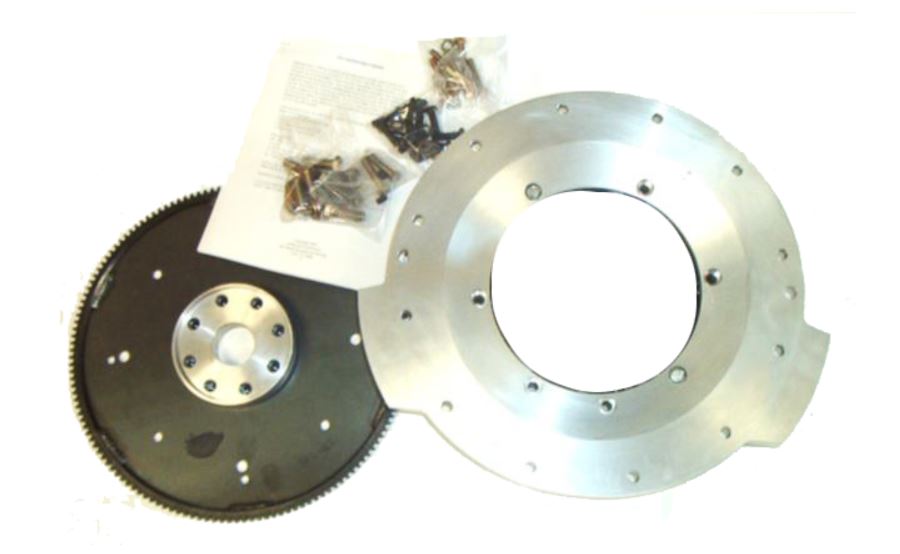
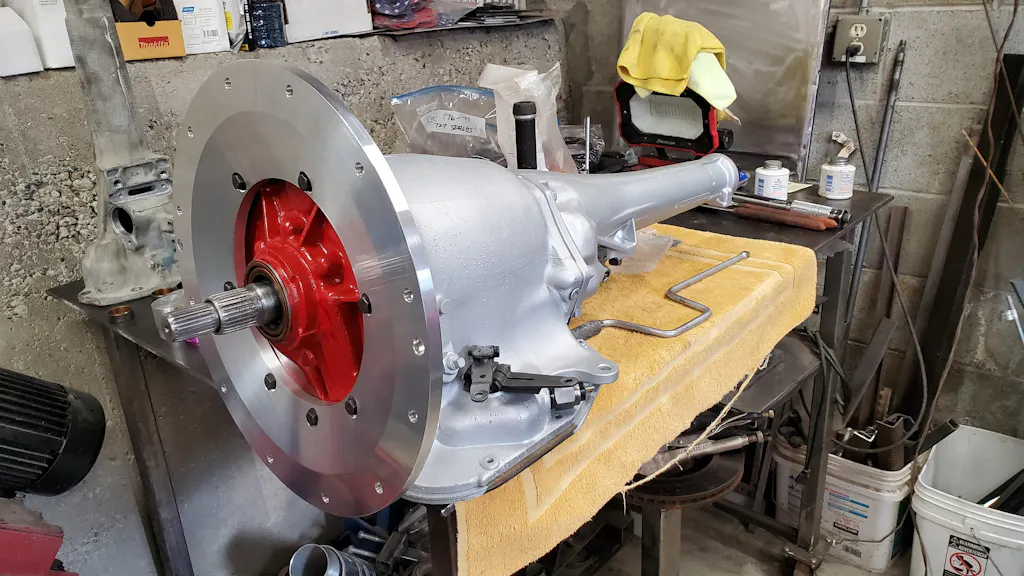
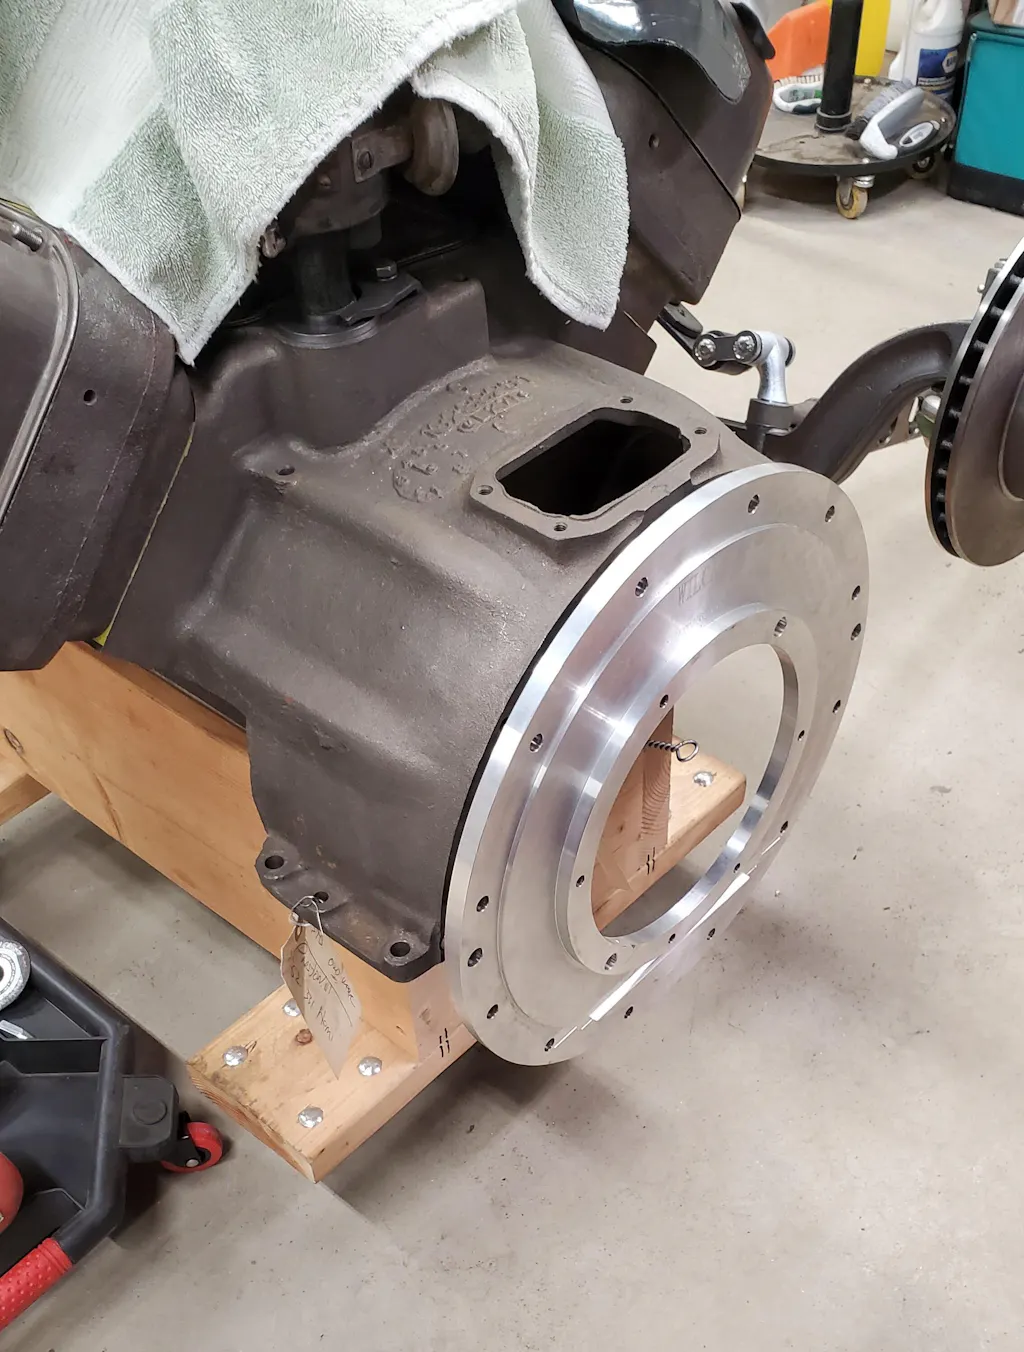
I was impressed with the quality and completeness of the kit when it arrived. I pulled a small block 727 transmission core (big block would also work) out of storage and tore it down for fresh internals and to modify the case. It's just a matter of cutting the cast-in bell housing from the transmission. The adapter plate then bolts to the front using the same holes as the front pump. That's it. I'm told you no longer have to locate and align the adaptor to the front pump with a dowel pin as described in the old Wilcap instructions. A Mopar torque converter bolts to the supplied flex plate with ring gear - small or large converter bolt patterns. The ring gear on the converter is just along for the ride now.
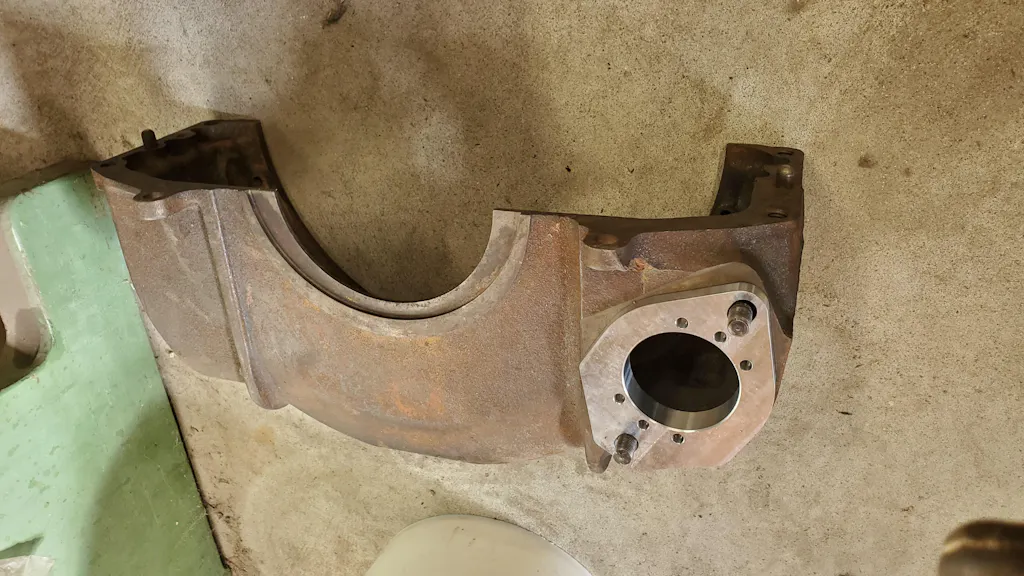
There's also a small adaptor for the included mini starter that's used with the original cast iron lower engine bell housing - which you've got to keep with these early 331's.
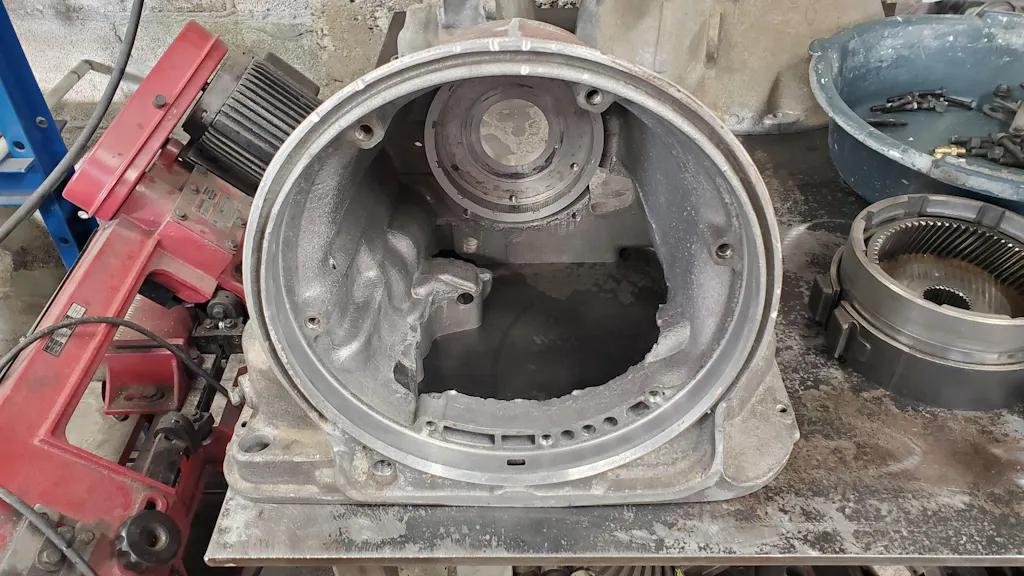
Cutting the bell housing from the transmission isn't particularly difficult - it just takes a little time. As instructed, I drill a series of holes from the inside out around the case near the front pump flange. This provides a good reference on the outside. Then, just connect the dots using a cutoff wheel and/or saw. I ground the cut with a sanding disc to smooth it out. You can do all this with the transmission assembled but I was rebuilding it anyway so you do have more room to work with the case gutted. The only thing I did differently on assembly was use factory style sealing washers under the pump bolt heads rather than the rubber clad washers supplied. They looked like sheet metal roofing washers.
Can't wait to complete this project. Speed Gems is helping me make it possible!
 All kits made from High-Quality USA Aluminum and Steel. Proudly manufactured in the U.S.A.!